Pre-requisites
To begin creating Access Control Lists, you need to have established your connection between the Boundless dashboard and the Meraki dashboard by entering your API key.
Also, ensure you have installed Chrome extension, so you have full functionality.
What are Access Control Lists
Access Control Lists (ACL) are lists of users with a specific level of access to the Meraki dashboard.
Natively, the Meraki dashboard can only support Read-only or Full (write level) access. There is no functionality to control exactly which sections of the dashboard a user can access.
To overcome this challenge, Boundless Access Control enables more granular access to the Meraki dashboard by leveraging SAML and a web extension.
What is SAML
SAML is the internet standard for controlling user access in any way. Essentially, this allows us to ensure that the only way users log into the Meraki dashboard is through the Boundless dashboard, which in turn allows us to put the controls in place for each user.
How to create an Access Control List
Access Control Lists consist of users, permissions and a scope; all of which determine how a user can interact with the Meraki dashboard. Let’s take a look at all three below.
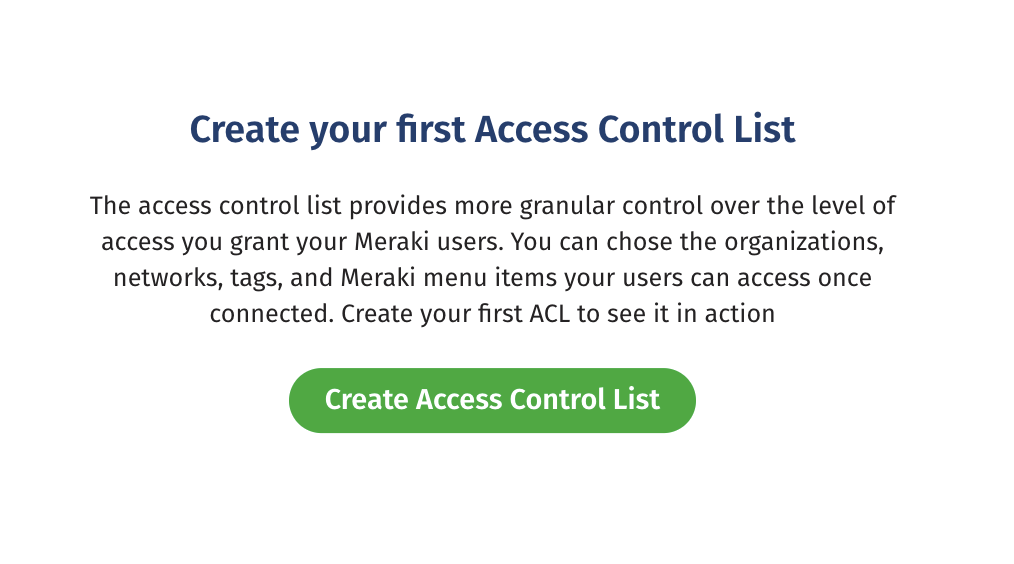
To get started, click on Access Control Lists. If this is your first using Access Control Lists, this should display the following screen:
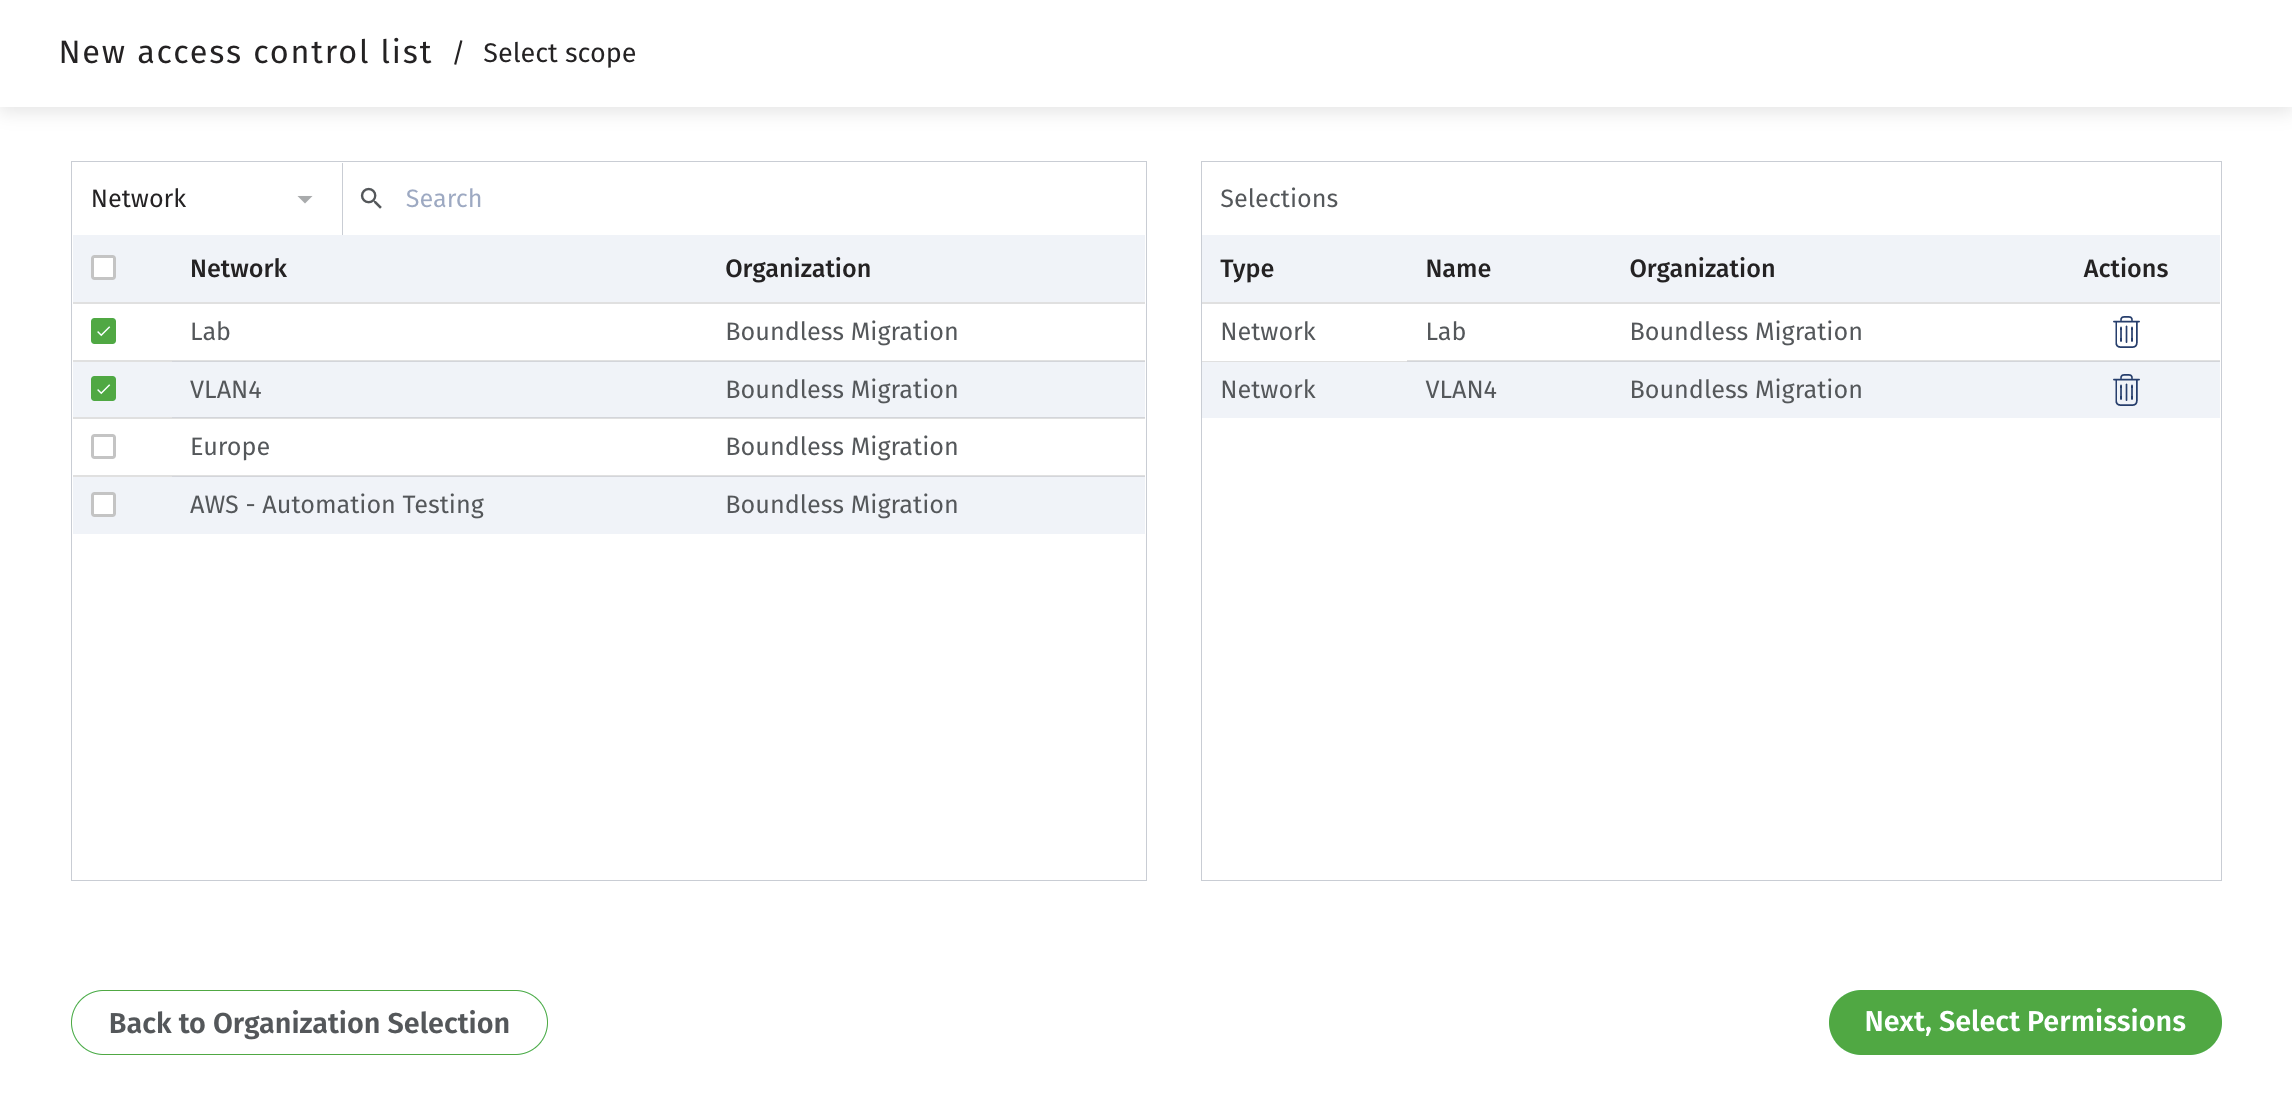
1. Scope
Begin by defining the scope. The scope is where you decide which organizations and which networks a user can access.
You can choose a scope only from the list of organizations for which you have Full access. These organizations are aggregated using your Meraki API key.
Scroll through the list of organizations and select one or more. To save time and create subsets effectively you can type the name of the organization or network, and even filter networks by tag.
Once you are done, click on Next, Select Permissions.
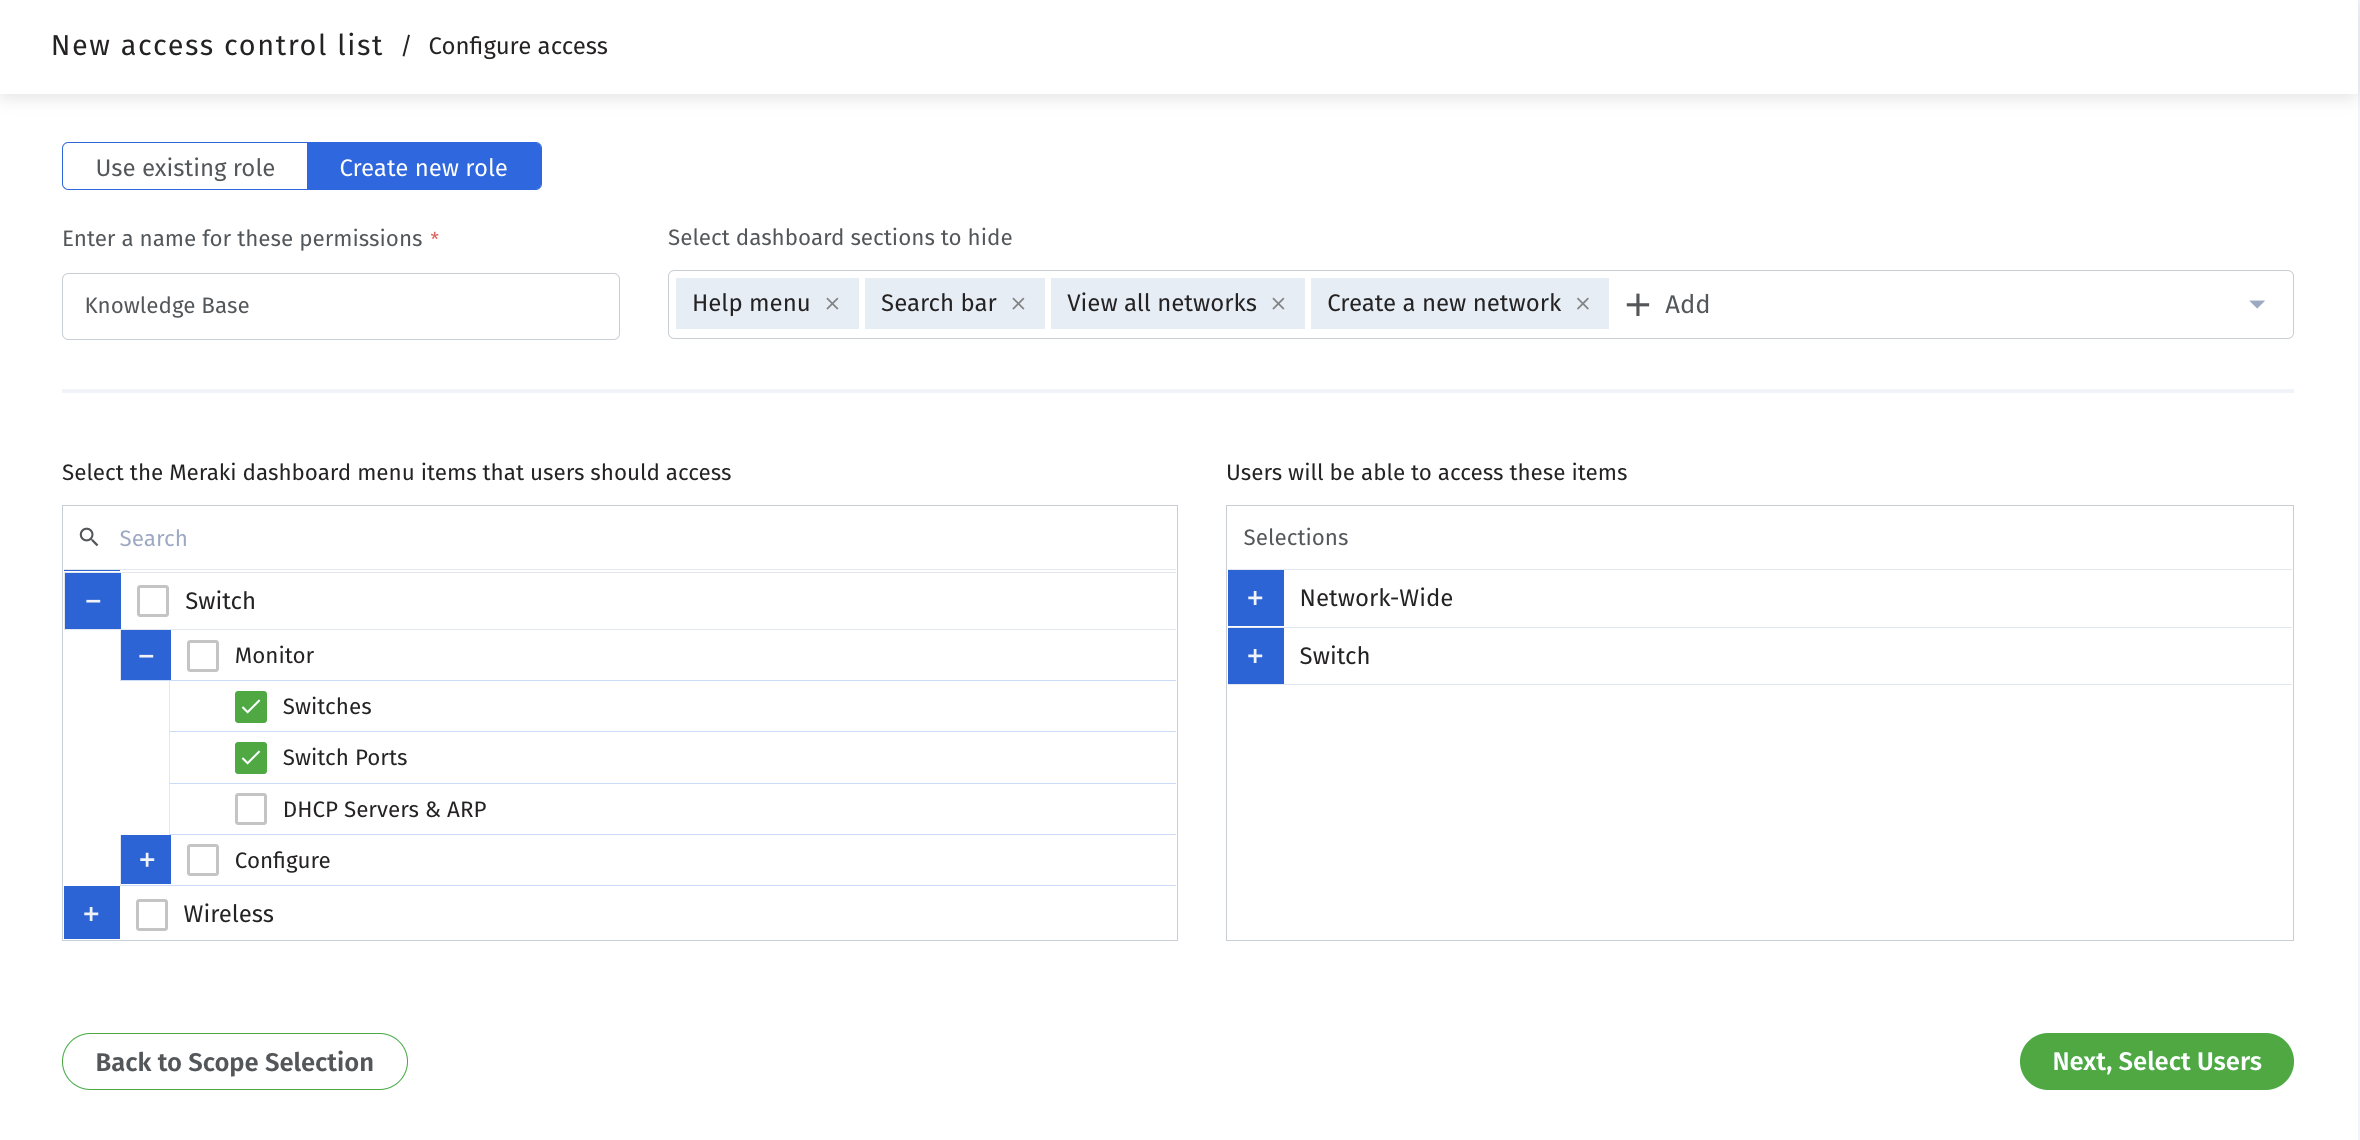
2. Permissions
Next, you have to decide the permissions for a user. A set of permission is the level of access you want to provide to the Meraki dashboard — this is the sections and menus a user should be able to access.
In this step, you can create a new set of permissions, or reuse an existing set of permissions. Each set of permissions you create will be automatically saved. This way, you don’t need to re-create the permissions each time you assign them to a different set of users in a different scope.
3. Users
Finally, you can go ahead and add users to your new Access Control List.
You can enter new users by clicking Add New Users on the right side. Also, you can add existing users by selecting them from the menu on the left.
When adding existing users to an Access Control List you will have to migrate them. Migrating a user to Boundless Access Control will delete their existing email account from Meraki, which ensures that they can only access the Meraki dashboard through Boundless.
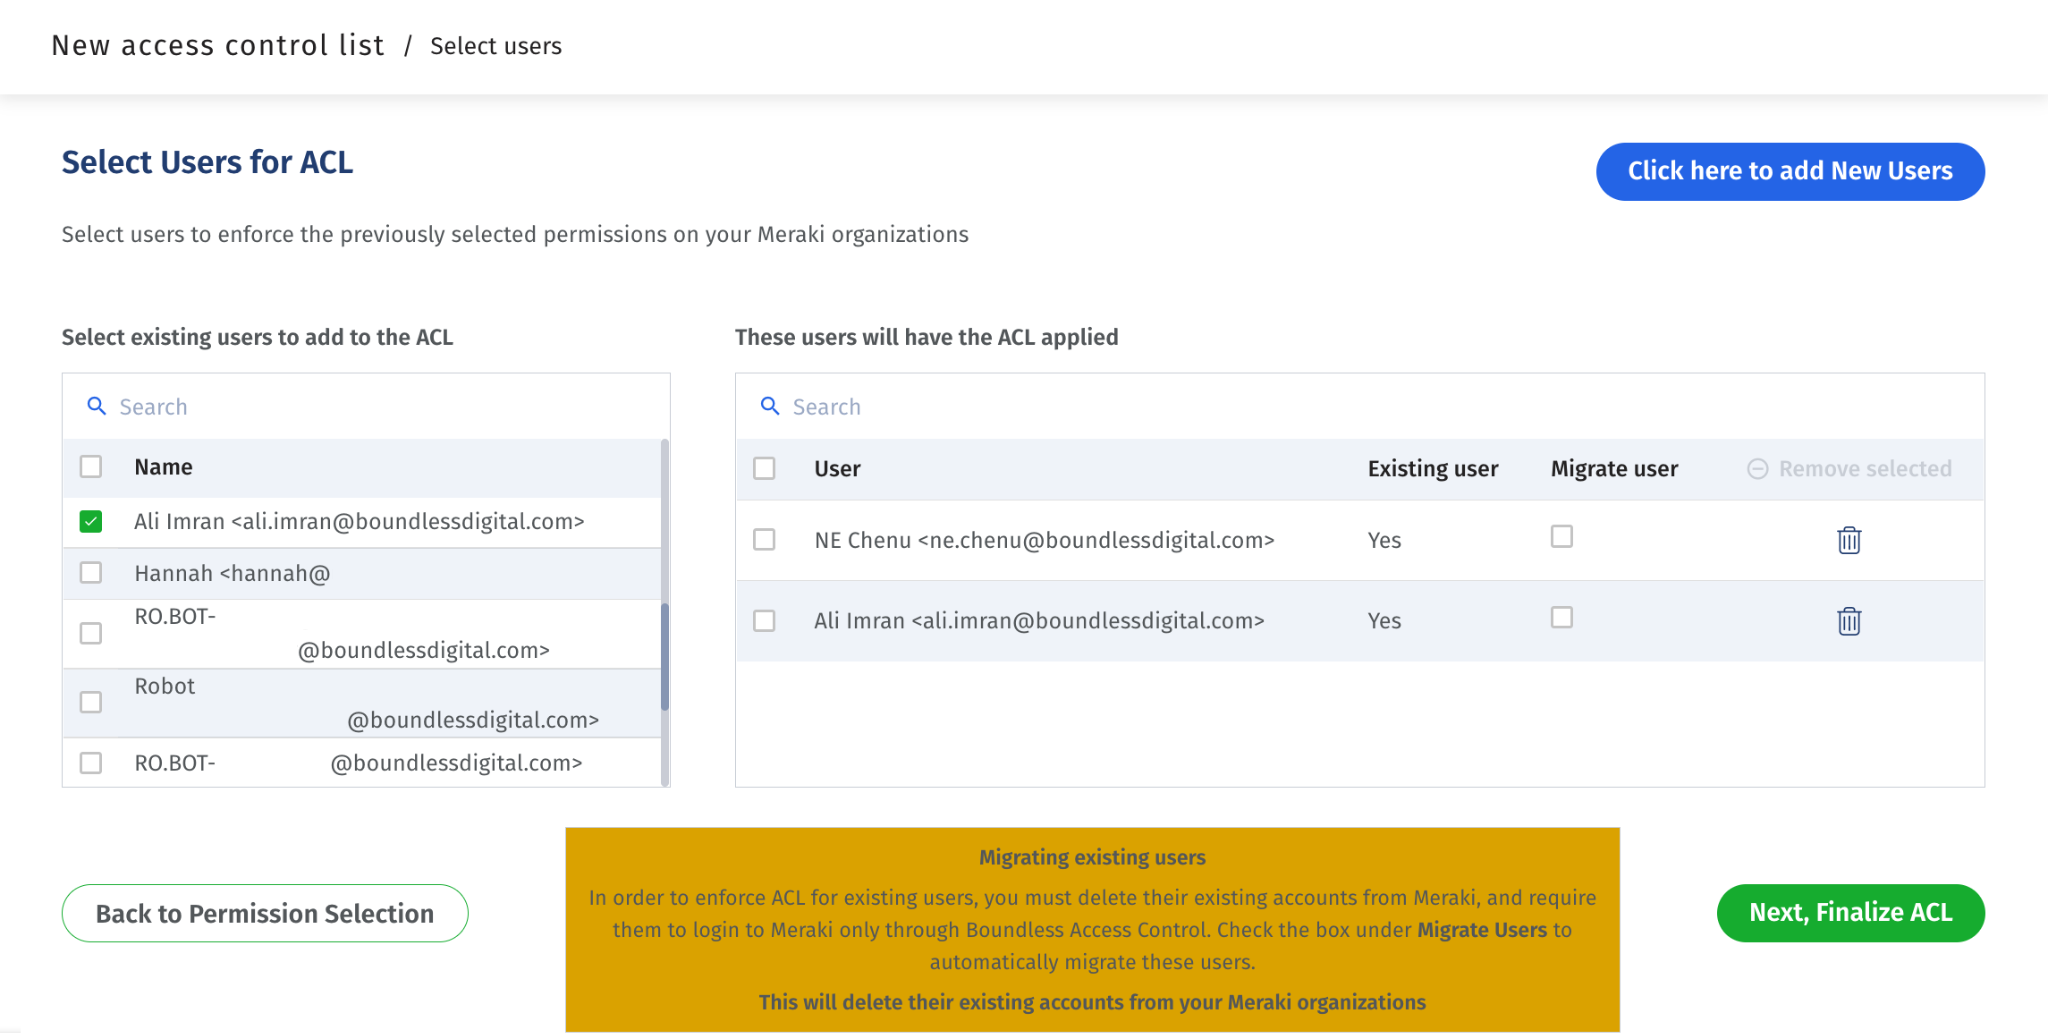
Once you have done this, you will be ready to go!
You can click Next, Finalize ACL. This will take you to a screen where you can name the ACL and launch it to give the selected users access.
Giving access to Meraki through ACLs
Shortly after you launch an Access Control List (ACL), Boundless Access Control will send out to your users an email, letting them know that they’ve been added to an Access Control List and inviting them to set up their new account.
Users can click on the invitation link to create an account on Boundless.
Installing the extension
Users must have installed the Boundless extension in order to get access to the Meraki dashboard. If a user does not have the Boundless extension installed, they will be prompted to do so before they can access the Meraki dashboard.
After installing the extension, users can simply refresh the page to access their Boundless dashboard. Here, they will see the list of organizations you have granted them access to (through the scope).
Users can click on their organization to head over onto the Meraki dashboard.
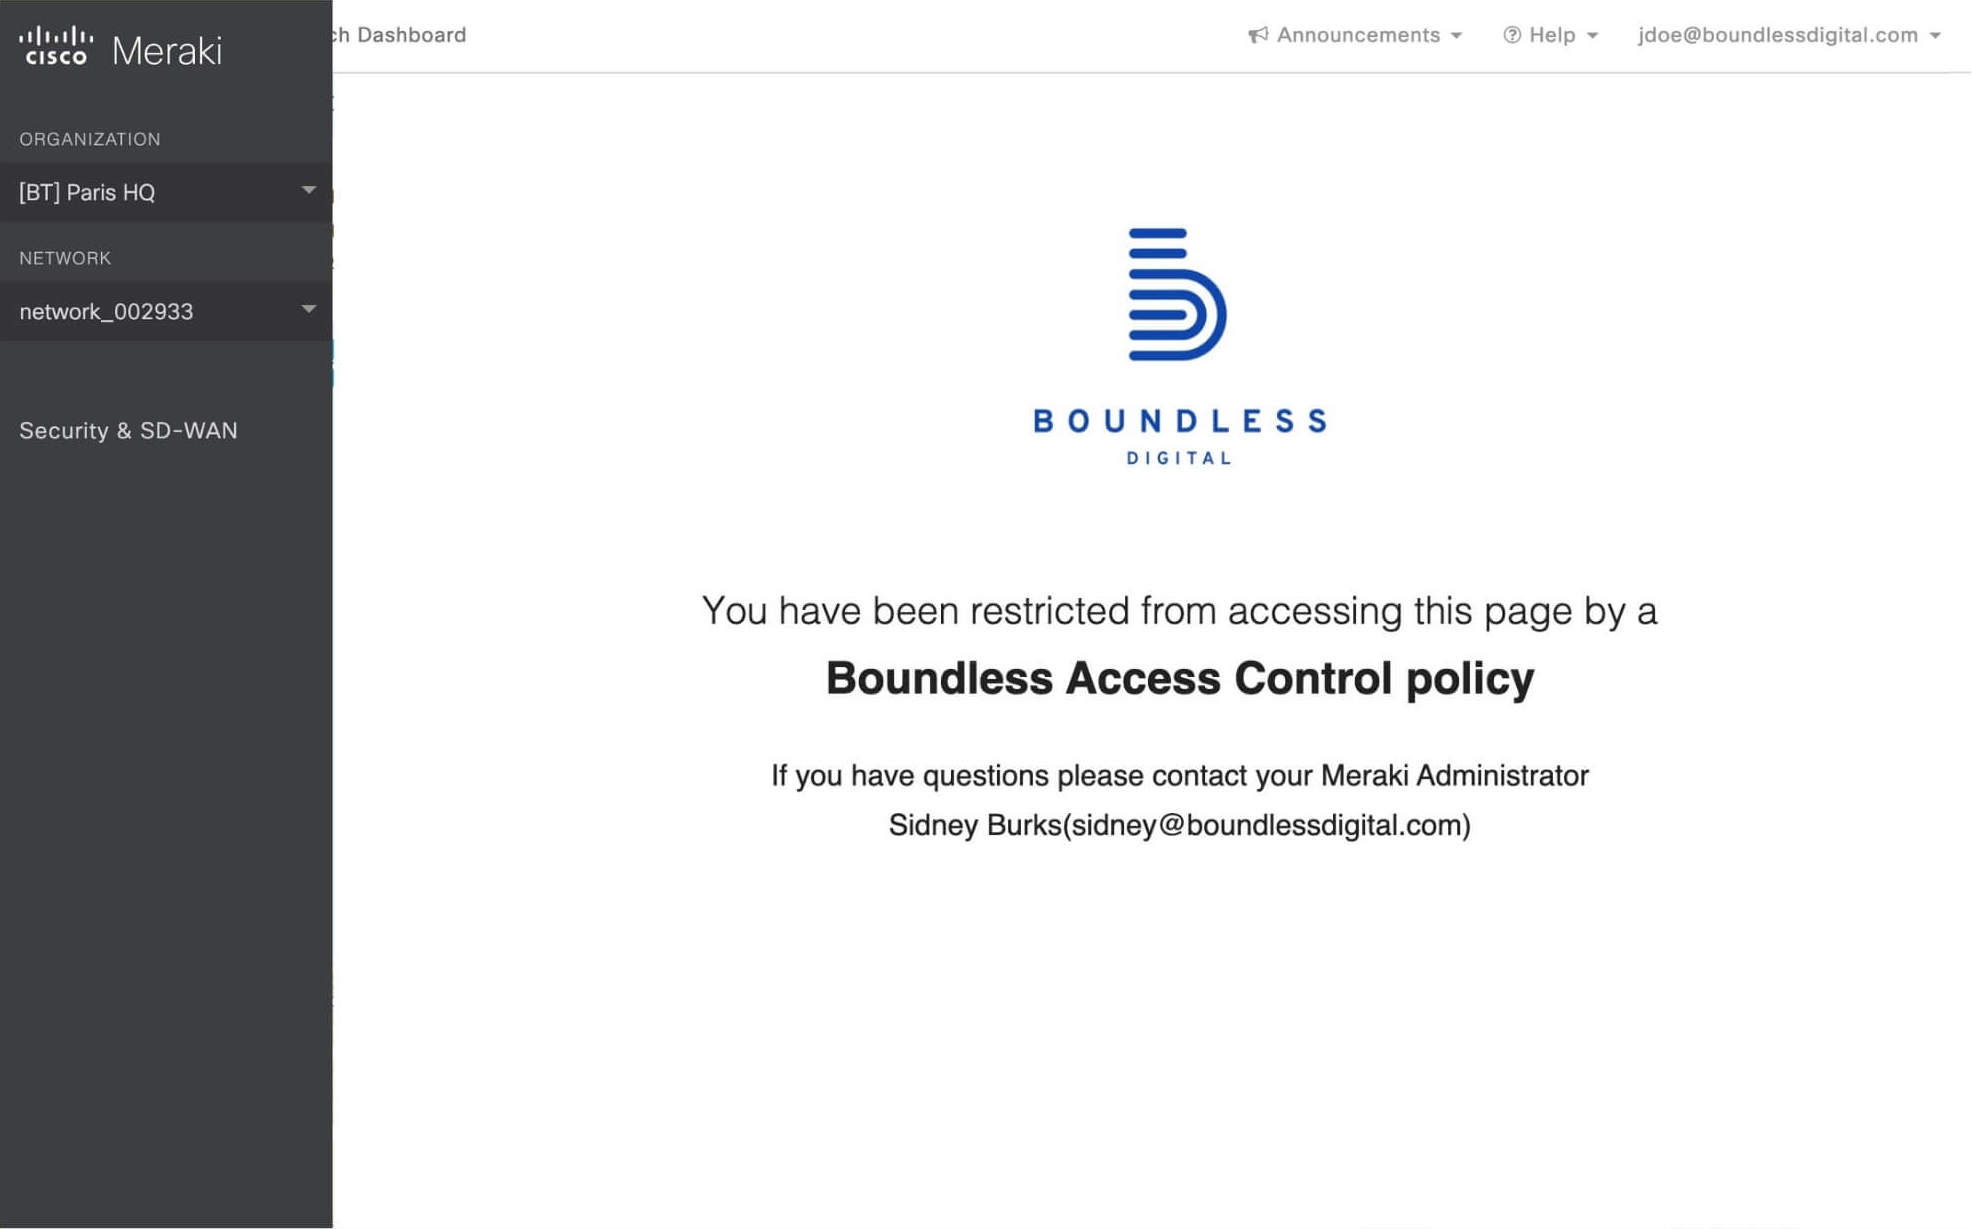
Once in the Meraki dashboard, users will only see the specific parts of the dashboard you have assigned them. They won't be able to see menu options or sections that are blocked. In addition, if they try to access those pages pages from another link also displays an error message letting them know they are blocked from accessing those parts of the dashboard.
That’s all you need to know to start assigning and creating Access Control Lists.
For any questions, you can reach out to us through the chat button or by email at support@boundlessdigital.com.